
These Mickey Oreo Cookie Pops are a delightful treat that combines the rich, creamy flavor of Oreos with a playful twist. Perfect for parties or a fun family activity, they’re ready in just 45 minutes with no baking required. The smooth chocolate coating contrasts beautifully with the crunchy cookie center, creating a satisfying bite every time.
Each pop is a burst of sweet, indulgent flavor, with a hint of vanilla and a velvety finish. They’re not only adorable but also easy to customize, making them a hit for kids and adults alike. With 228 calories per pop, they’re a guilt-free way to enjoy a little magic in every bite!
What You’ll Need
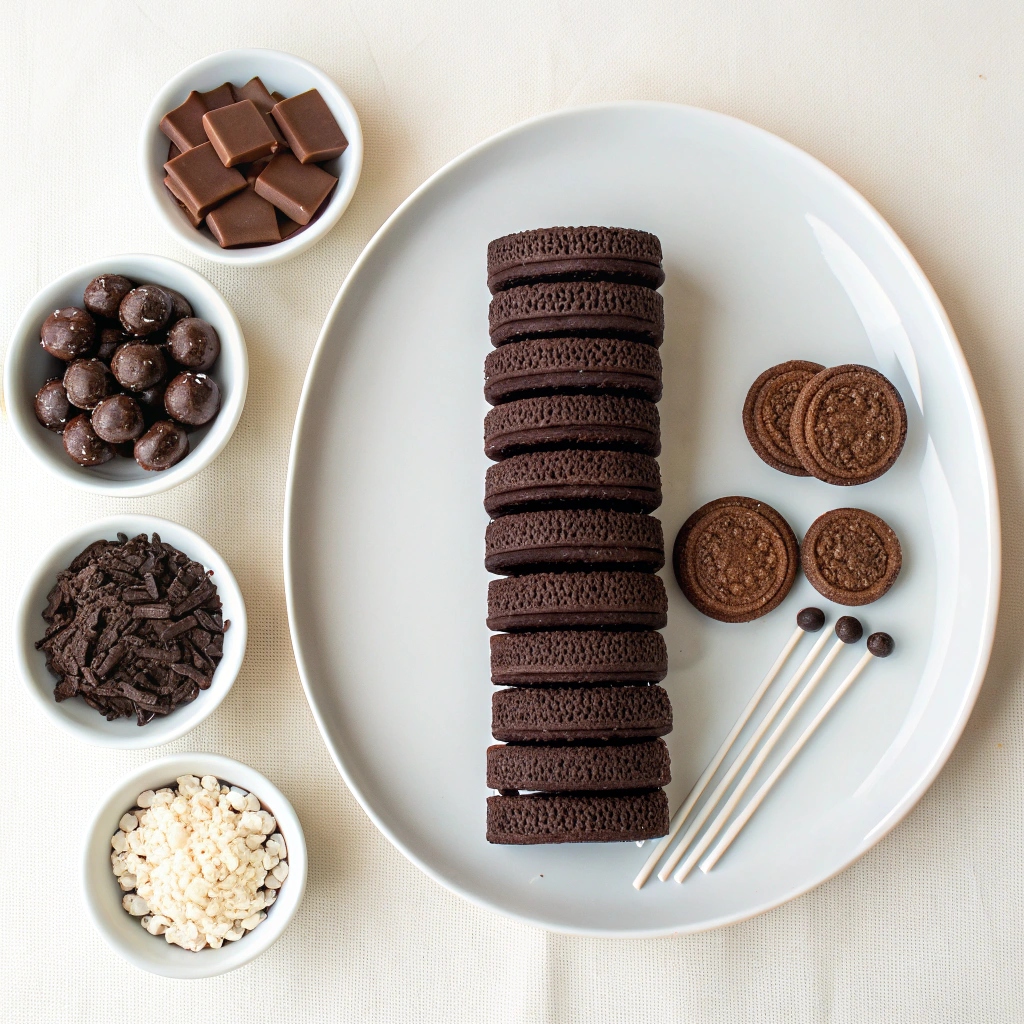
- 20 Oreo Cookies (regular size, for the “face”)
- 20 mini Oreo Cookies (twisted in half, with the filling removed, for the “ears”)
- 16 ounces melting chocolate (white, dark, or milk chocolate, depending on preference)
- 20 cake pop sticks (or lollipop sticks, if unavailable)
How to Make Mickey Oreo Cookie Pops
- Prepare the Oreos: Arrange the Oreos on a wax-lined baking sheet in a “Mickey Mouse” shape. Use one regular Oreo as the face and place each half of a mini Oreo on the sides to form the ears.
- Melt the Chocolate: Melt the chocolate according to the package instructions. (Tip: Use a microwave-safe bowl and heat in 30-second intervals, stirring in between, to avoid burning.)
- Attach the Sticks: Dip the tip of each cake pop stick into the melted chocolate, then insert it into the center of a regular Oreo. This will help secure the stick.
- Secure the Ears: Dip the flat side of each mini Oreo half into the melted chocolate and press it gently onto the sides of the regular Oreo to create the ears. Hold for a few seconds to set.
- Chill to Set: Place the baking sheet in the freezer for about 10 minutes to let the chocolate harden and secure the shapes.
- Coat in Chocolate: Remove the Oreos from the freezer. Using a spoon, coat each Mickey Mouse Oreo completely in melted chocolate. Tap gently to remove excess chocolate.
- Let Harden: Place the coated Oreos back on the baking sheet (or in a cake pop holder) and let the chocolate harden completely. For quicker results, return them to the freezer for 5-10 minutes.
- Serve and Enjoy: Once the chocolate is fully set, your Mickey Oreo Cookie Pops are ready to enjoy! Store in an airtight container if not serving immediately.
Fun Topping Ideas for Your Mickey Oreo Pops
Take your Mickey Oreo Pops to the next level with creative toppings! After coating them in chocolate, sprinkle on colorful sprinkles, crushed nuts, or edible glitter for a magical touch. For a more polished look, drizzle melted white or dark chocolate in zigzag patterns. You can even add tiny edible pearls or fondant details for extra Disney charm!
Perfect Serving Suggestions
These Mickey Oreo Pops are perfect for parties, movie nights, or Disney-themed celebrations. Arrange them in a cake pop stand or stick them into a foam block covered with decorative paper for a fun display. Pair them with other Disney-inspired treats like Minnie Mouse cupcakes or Mickey-shaped rice Krispie treats for a complete themed dessert table.
Storage Tips to Keep Them Fresh
Store your Mickey Oreo Pops in an airtight container at room temperature for up to 3 days. If you need to keep them longer, place them in the refrigerator for up to a week. To prevent condensation, let them come to room temperature before serving. For freezing, wrap each pop individually in plastic wrap and store in a freezer-safe bag for up to 2 months.
Time-Saving Tips for Busy Bakers
Short on time? Use pre-melted chocolate or candy melts for quicker prep. Instead of twisting and separating the mini Oreos yourself, ask a helper to assist with the prep work. To speed up the chocolate hardening process, place the pops in the freezer for just 5-7 minutes instead of 10. These small adjustments can save you precious minutes without sacrificing quality!
Common Questions Answered
Can I use regular Oreos for the ears? Yes, but the mini Oreos create a more proportional Mickey shape. What if I don’t have cake pop sticks? Use lollipop sticks or even sturdy straws as a substitute. Can I make these ahead of time? Absolutely! Prepare them a day in advance and store them as directed. Just avoid exposing them to heat or humidity to keep the chocolate from melting.

Mickey Oreo Cookie Pops
Ingredients
- 20 Oreo Cookies
- 20 mini Oreo Cookies (twisted in half, with the filling removed)
- 16 ounces melting chocolate
- 20 cake pop sticks
Instructions
- Arrange the oreos in a “Mickey Mouse” shape on a wax-lined baking sheet, with one regular oreo as the face and each half of a mini oreo as the “ears”
- Melt chocolate according to package directions.
- Dip each cake pop stick into the chocolate, and then through the center of the oreo. Dip each half of the mini oreo in the chocolate and secure it in between the sides of the regular oreo.
- Place back on the baking sheet and let the chocolate harden in the freezer for about 10 minutes.
- Remove from the freezer, and using a spoon, coat each Mickey Mouse oreo completely in chocolate.
- Place back on the backing sheet (or in a cake pop holder) and let the chocolate harden. (You can also place them back in the freezer for a quicker set up).