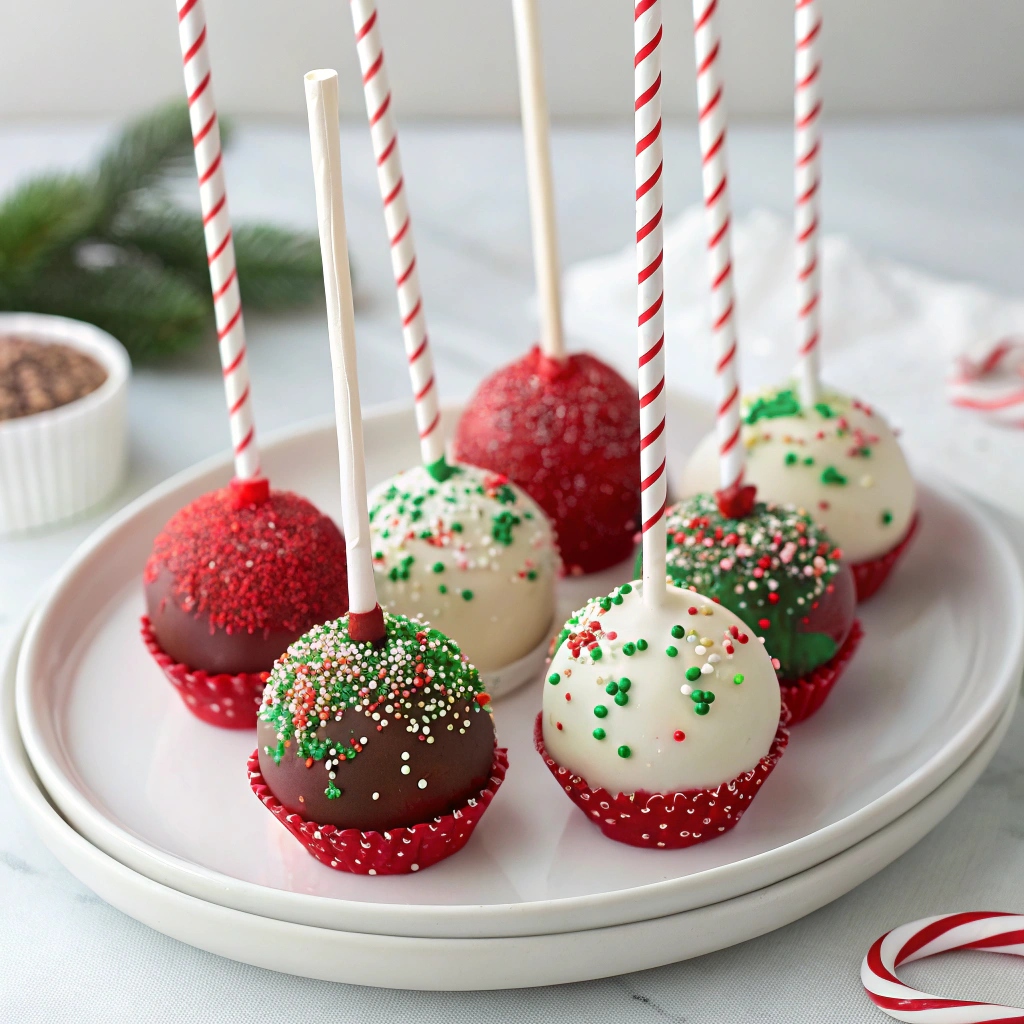
Christmas Cake Pops are the ultimate festive treat, combining moist cake, creamy frosting, and a rich chocolate coating in every bite. These bite-sized delights are perfect for holiday gatherings, offering a burst of decadent flavors and a satisfying mix of soft cake and smooth, crunchy chocolate. Ready in just over an hour, they’re surprisingly easy to make and guaranteed to impress.
With a prep time of 20 minutes and a quick freeze to set, these pops are as fun to create as they are to eat. The sweet, buttery notes of the cake pair beautifully with the velvety chocolate shell, while festive sprinkles add a playful crunch. Whether for gifting or sharing, these pops bring holiday cheer in every bite.
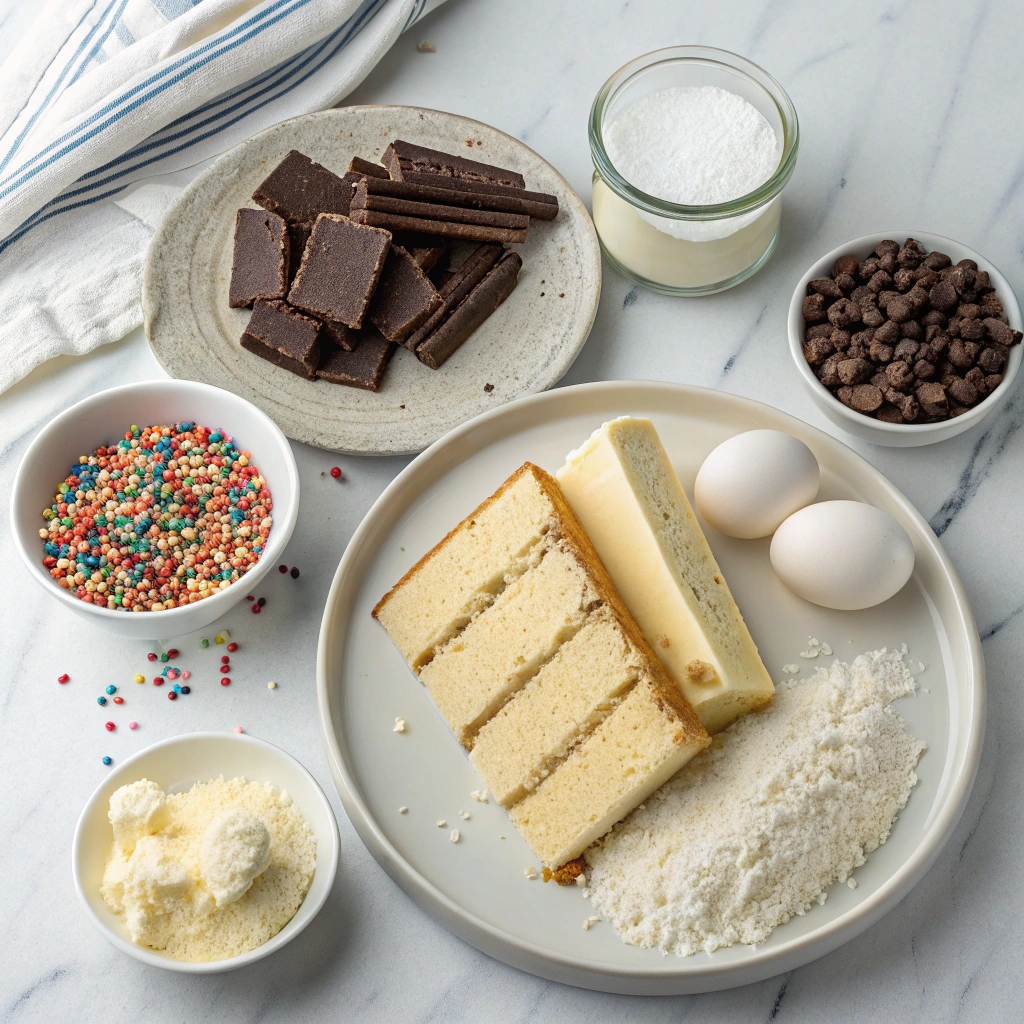
Festive Christmas Cake Pops Ingredients
- For the Vanilla Cake:
- ▢ 1 (15-ounce) box vanilla cake mix
- ▢ Ingredients listed on the cake mix box (water, oil, eggs)
- For the Frosting:
- ▢ 5 tablespoons unsalted butter, at room temperature (softened for easy mixing)
- ▢ ⅔ cup powdered sugar (sifted for smoother texture)
- ▢ 3 tablespoons cream cheese (softened)
- ▢ 1 teaspoon pure vanilla extract (or substitute with almond extract for a different flavor)
- For the Coating and Decorations:
- ▢ 18 ounces white chocolate melting wafers (or use dark/milk chocolate for variation)
- ▢ Festive sprinkles, edible glitter, or other decorations of your choice
Step-by-Step Instructions for Christmas Cake Pops
- Prepare the Vanilla Cake:
- Preheat your oven to the temperature specified on the cake mix box.
- Mix the cake batter according to the box instructions, combining the cake mix with water, oil, and eggs.
- Pour the batter into a greased 9×13-inch baking pan and bake as directed, typically for about 30 minutes, or until a toothpick inserted into the center comes out clean.
- Allow the cake to cool completely in the pan before proceeding.
- Make the Frosting:
- In a medium bowl, beat the softened butter with an electric mixer until creamy.
- Gradually add the powdered sugar, beating continuously until smooth.
- Mix in the cream cheese and vanilla extract, beating until the frosting is light and fluffy.
- Prepare the Cake Pop Mixture:
- Crumble the cooled cake into fine, even crumbs using your hands or a fork.
- Add the prepared frosting to the crumbled cake and mix until the mixture is moist and holds together when pressed.
- Shape the Cake Pops:
- Roll the cake mixture into 1-inch balls and place them on a parchment-lined baking sheet.
- Melt a small portion of the white chocolate wafers and dip the tip of each cake pop stick into the melted chocolate. Insert the stick into the center of each cake ball to anchor it.
- Freeze the cake pops for at least 30 minutes to firm them up.
- Coat and Decorate the Cake Pops:
- Melt the remaining white chocolate wafers according to the package instructions.
- Dip each chilled cake pop into the melted chocolate, ensuring it’s fully coated. Gently tap the stick to remove excess chocolate.
- Immediately sprinkle with festive decorations while the coating is still wet.
- Place the coated cake pops back on the parchment-lined baking sheet and let them set at room temperature or in the refrigerator until the chocolate hardens.
- Serve and Enjoy:
- Arrange the cake pops in a decorative display or serve as desired. Perfect for holiday gatherings or as a sweet gift!
Festive Topping Ideas to Make Your Cake Pops Shine
Take your Christmas Cake Pops to the next level with creative toppings! Use festive sprinkles in red, green, and gold for a classic holiday look. For a snowy effect, dust them with edible glitter or powdered sugar. You can also drizzle melted dark or milk chocolate over the white coating for a marbled effect. For a fun twist, add crushed candy canes or mini marshmallows for extra texture and flavor.
How to Store and Keep Your Cake Pops Fresh
Store your cake pops in an airtight container at room temperature for up to 2 days or in the refrigerator for up to 1 week. If you need to freeze them, place them in a single layer on a baking sheet, freeze until solid, then transfer to a freezer-safe bag or container. They’ll stay fresh for up to 2 months. Thaw in the fridge before serving to maintain their texture.
Time-Saving Tips for Busy Bakers
Short on time? Use a pre-made vanilla cake from the store instead of baking one from scratch. You can also swap the homemade frosting for store-bought vanilla frosting to save a step. To speed up the chilling process, place the cake pops in the freezer for 15 minutes instead of 30. These shortcuts will still give you delicious results without the extra effort!
Fun Variations to Try
Switch up the flavors to suit your taste! Use a chocolate cake mix instead of vanilla, or add 1-2 teaspoons of peppermint extract to the frosting for a minty twist. For a fruity option, mix in crushed freeze-dried strawberries with the cake crumbs. You can also experiment with different coatings, like dark chocolate or colored candy melts, to match your holiday theme.
Essential Equipment for Perfect Cake Pops
To make these cake pops effortlessly, you’ll need a few key tools: a 9×13-inch baking pan, parchment paper, and cake pop sticks. A microwave-safe bowl or double boiler is ideal for melting the chocolate, and a styrofoam block or cake pop stand will help your pops dry upright. Don’t forget a fine-mesh sieve for dusting powdered sugar or glitter for that extra festive touch!

Christmas Cake Pops
Ingredients
For the Vanilla Cake
- 1 15-ounce box vanilla cake mix
- other ingredients called for on the box including water/oil/eggs
For the frosting
- 5 Tablespoons unsalted butter, at room temperature
- ⅔ cup powdered sugar
- 3 Tablespoons cream cheese
- 1 teaspoon pure vanilla extract
For the coating
- 18 ounces white chocolate melting wafers
- Festive sprinkles or other desired decorations
Instructions
- Prepare the Vanilla Cake
- Preheat the Oven. Set the oven to the temperature indicated on the vanilla cake mix box.
- Mix the Batter. Follow the directions on the cake mix box, combining the cake mix with the required water, oil, and eggs.
- Bake the Cake. Pour the batter into a greased 9×13-inch baking pan or as directed. Bake according to the box instructions, typically until a toothpick inserted into the center comes out clean (about 30 minutes).
- Cool. Allow the cake to cool completely before moving on to the next step.
- Make the Frosting
- Cream the Butter. In a medium bowl, beat 5 tablespoons of unsalted butter with an electric mixer until it becomes creamy. Gradually incorporate powdered sugar, beating continuously until the mixture is smooth.
- Add cream cheese and pure vanilla extract. Beat until the frosting is light and fluffy.
- Prepare the Cake Pop Mixture
- Crumble the Cake. Once the cake is completely cool, crumble it into a large bowl using hands or a fork. Aim for fine, even crumbs.
- Combine with Frosting. Mix the crumbled cake with the prepared frosting. Stir until the mixture is well-combined and has a moist, dough-like consistency that holds together when pressed.
- Form the Cake Pops
- Shape the Cake Balls. Roll the cake mixture into 1-inch balls and place them on a parchment-lined baking sheet. Melt a small portion of the white chocolate melting wafers according to the package instructions. Dip the tip of each cake pop stick into the melted chocolate and then insert it into the center of a cake ball. This will help anchor the stick in place.
- Chill. Place the cake pops in the freezer for at least 30 minutes to allow them to firm up.
- Coat the Cake Pops
- Melt the Chocolate. Melt the remaining white chocolate melting wafers as per the package instructions.
- Dip and Coat. Dip each chilled cake pop into the melted chocolate, ensuring it is completely covered. Gently tap the stick on the side of the bowl to remove any excess chocolate.
- Decorate. While the coating is still wet, sprinkle with festive decorations of your choice.
- Let the Cake Pops Set. Return the coated cake pops to the parchment-lined baking sheet. Allow them to set at room temperature or in the refrigerator until the chocolate coating is completely hardened.
- Serve. Arrange the cake pops in a decorative display or serve as desired. They make a festive treat for any holiday gathering or special occasion.